Showing posts with label Halloween. Show all posts

Tuesday, July 17, 2018

Cheery Lynn Halloween


Hi friends, I'm back today sharing a Halloween card.  Now that's it's gotten so hot here in NY I'm looking forward to autumn weather.  I love Halloween and I've started to see things popping up in online ads and I was inspired to pull out my Halloween dies. 
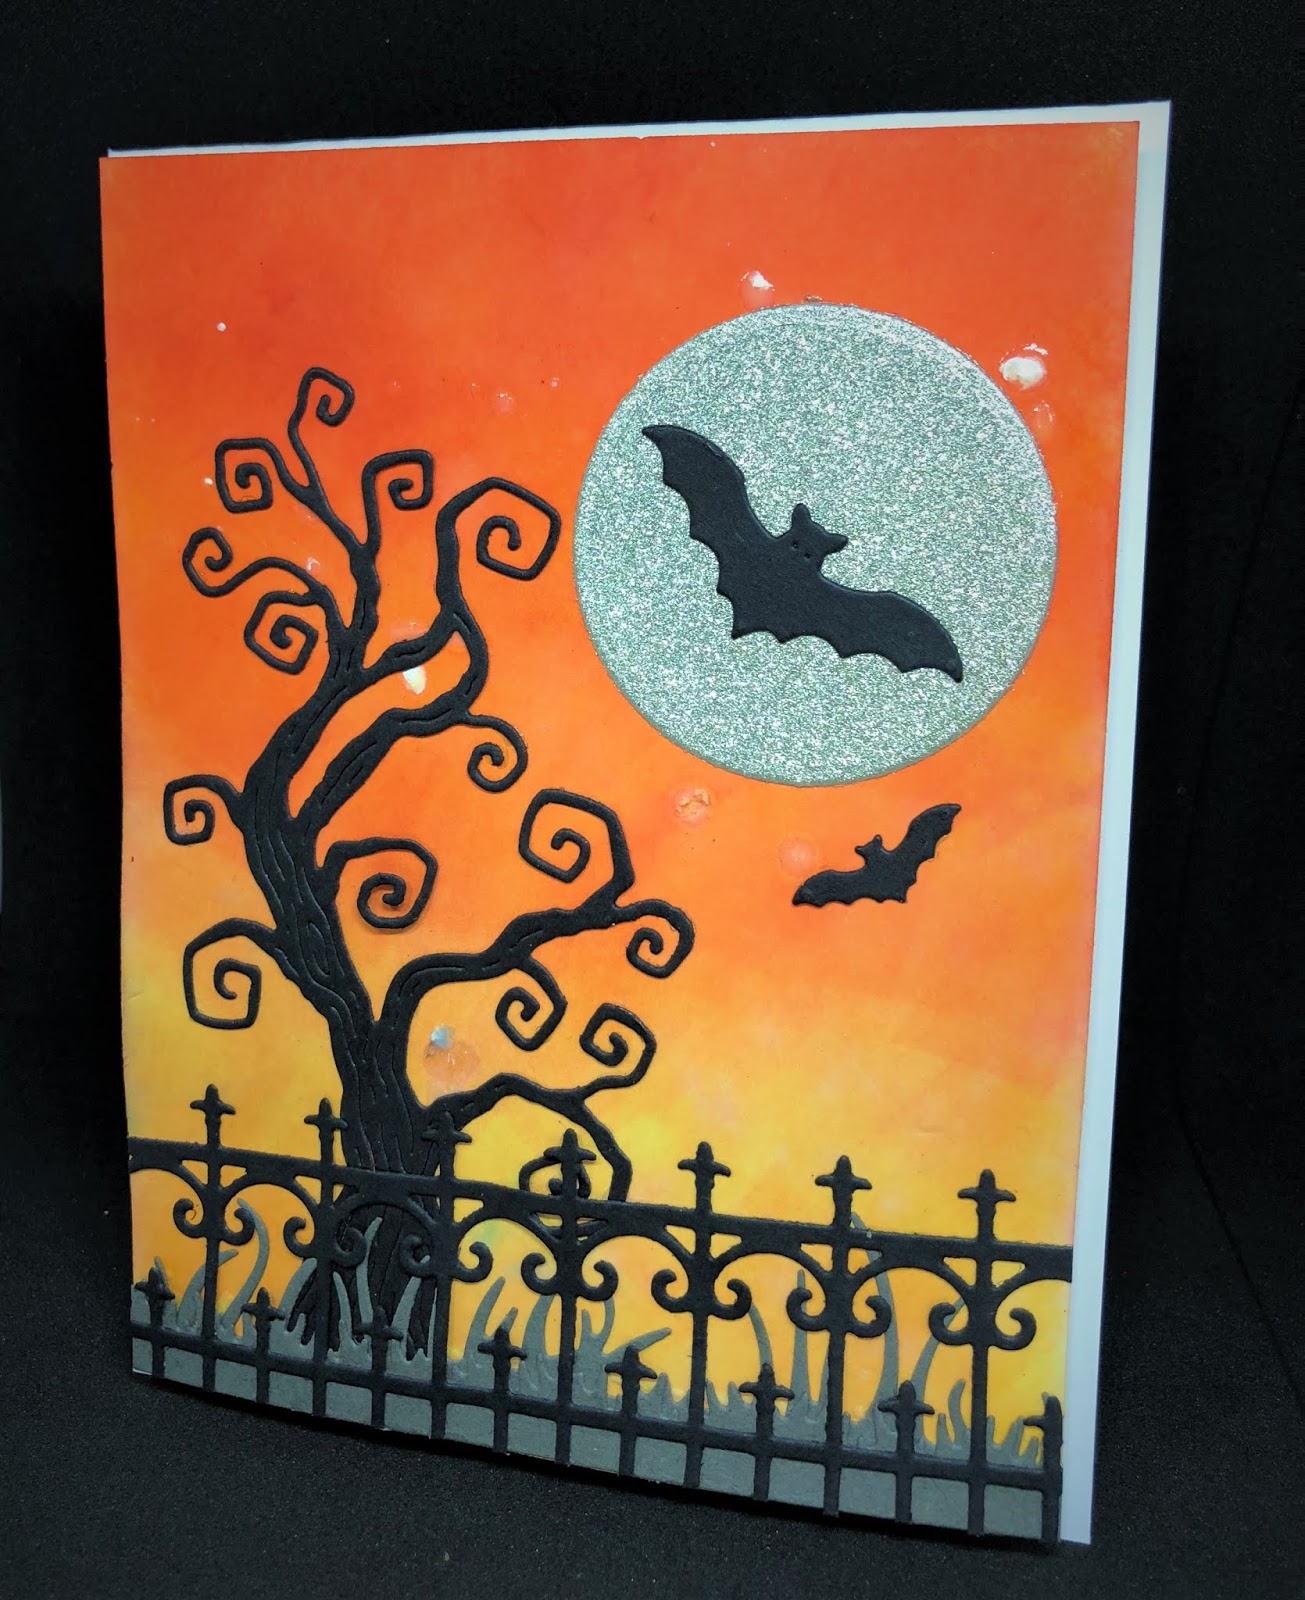

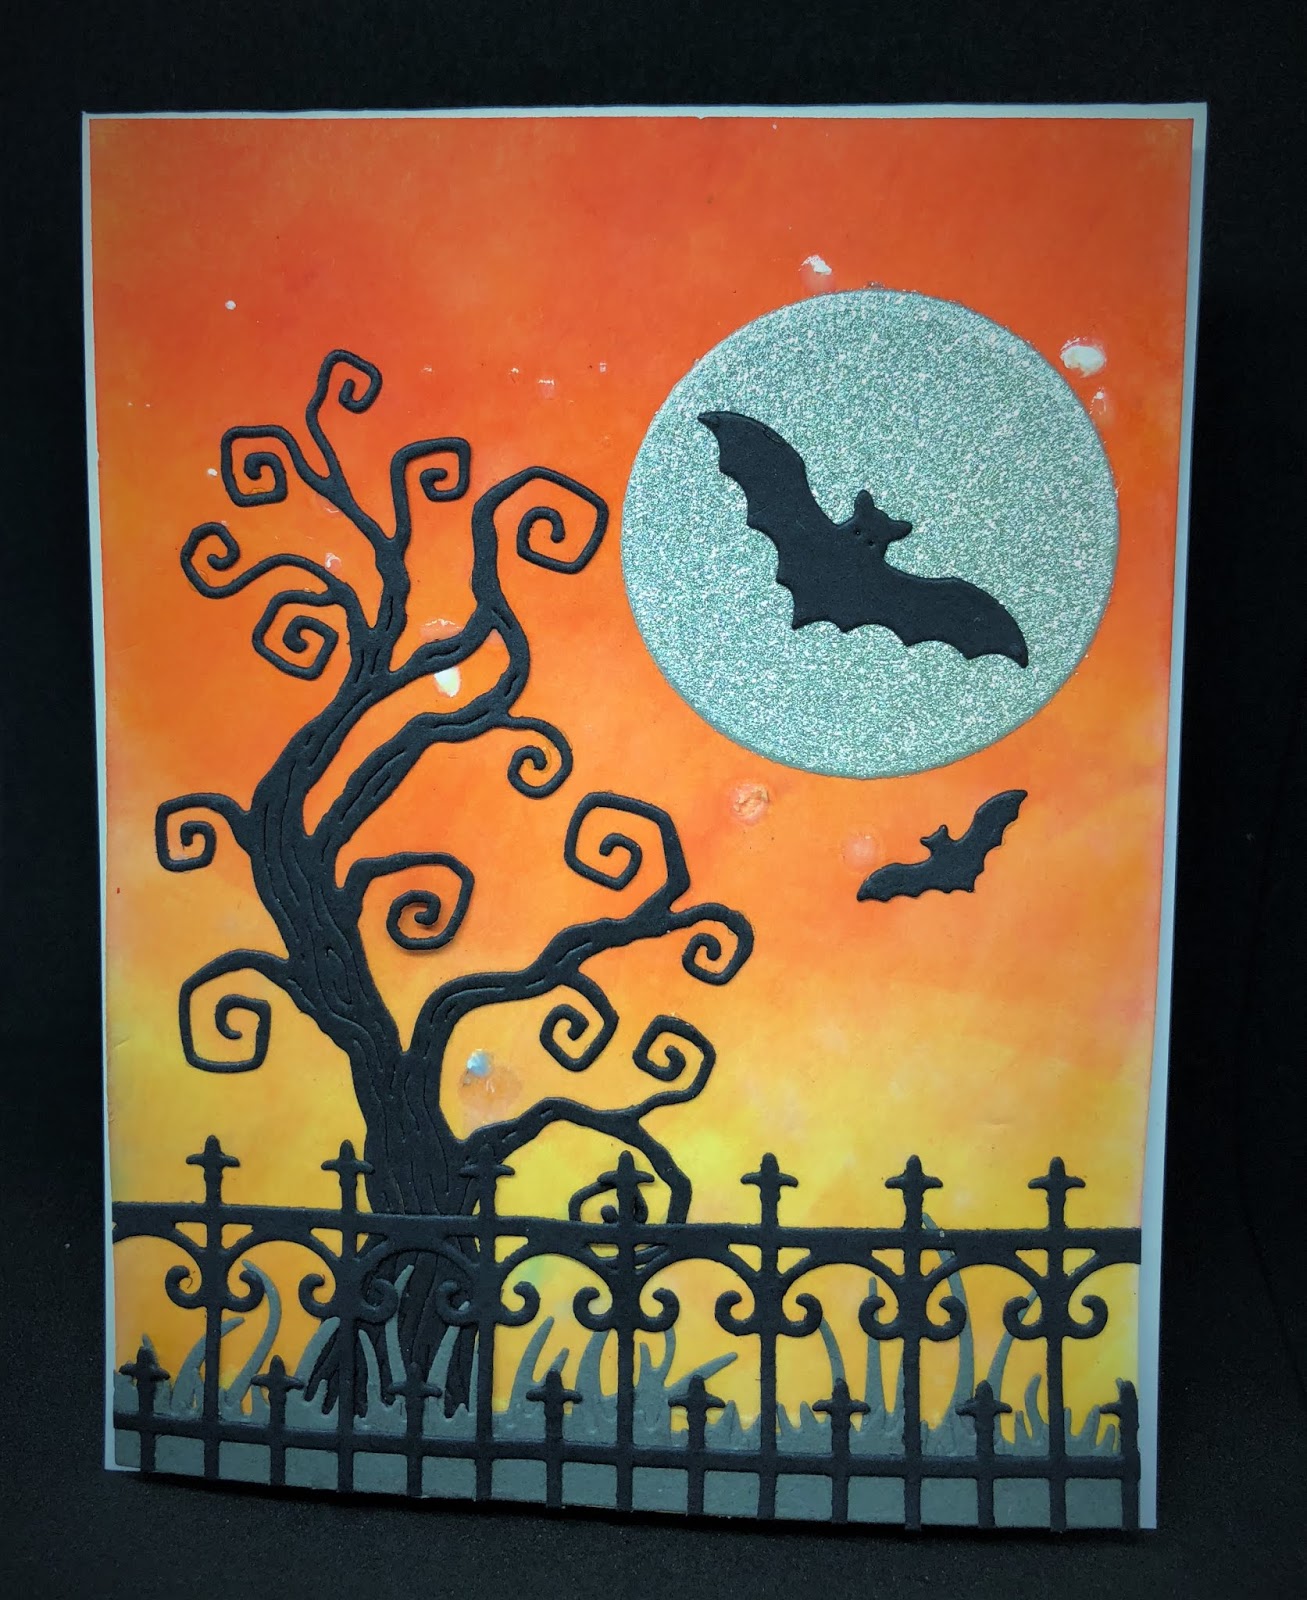
 Most of the work in this card went to creating the background by blending inks and then spritzing with water until the colors blended.  I also added a spritz of a white dimensional spray.  

To create the grass behind the fence I layered two different grass die cuts.  The fence did was much higher but I cut off the bottom.  It's a beautifully ornate die but I didn't want the fence to overshadow the tree.  The moon was cut out of a platinum colored glitter paper.  Last, I added the bats for spooky vibe.  


Cheery Lynn Dies

Thanks for stopping by the blog today!
Hugs, Jenny

Friday, October 6, 2017

Cheery Lynn Witch's Laundry


Hi Everyone!  I'm so in a Halloween mood these days but here in NY it still feels like Summer.  I'd envisioned a very different card with flowers and embellishments and spiderwebs but then I was sidetracked by some new Halloween paper and my new-for-me Witch's Laundry die.  This is the result.


I used distress ink on the edge of the orange paper and then cut out the center with an oval die from the Oval Classic LG Stackers Set to show off the spiderweb paper.   Silver glitter glue was used on the brim of the hat and the neckline of the dress to add a little magic.  I also cut the stockings out of orange, cut out every other orange stripe and glued them onto the black stockings.  The little extra color added so much interest to a simple card.  The sentiment is from the Witch's Skirt Set.  It's a great size for cards and you may have noticed that I tend to use it a lot.  

Cheery Lynn Dies

Thanks for stopping by the blog today!
Hugs, Jenny

Wednesday, September 6, 2017

Happy Halloween!


Hi friends!  I'm back today with a new Halloween card.  I've ignored the start of the school year (probably because I also have to return to work) and jumped straight to Halloween with my card making.  I love everything about Halloween time and I really enjoy spooky decorations.


This year I'm thinking about making candle jars using tissue paper and jars and Cheery Lynn Halloween die cuts.  Hopefully I'll have some to share with you soon if I can get what's in my head into an actual project.  In the meantime I've been card making.  I thought these Jack-o-Lanterns would be extra spooky done in black and I like the result.  It's difficult to see but the yellow-orange faces are actually quite sparkly.  I just glued paper sprayed with a glittery spray behind the Jacks.  

Cheery Lynn Dies Used

Thanks for stopping by the blog today!

Friday, October 28, 2016

Cheery Lynn Happy Halloween


Hi, today I'm sharing another Halloween card.  I just love playing with these new Cheery Lynn Halloween dies!  This card was simple to put together but the glitter paper on some of the die cuts really adds a beautiful glitzy touch.  I started with a 5.5" square card base.  I layered black and patterned card stock on top.  Then I cut the largest square out of Square Frames Set in black.  The inside is lined with a smaller purple square to pick up some of the purple color from the patterned card stock.  I cut the Skeleton's accessories out of other fun papers.  I don't know if it's visable in the photos but his bow and the tombstone are super sparkly!


The one die I changed a bit is the Horizon Fishtail Banner die.  I ran half of it through my die cut machine and then stopped before finishing.  I then moved the die down, being careful to line up the little scallops and then ran the flag side of the banner through to create a smaller than normal banner shape that would fit my card better.  The Happy Halloween sentiment is from the Witch's Skirt die set.

Cheery Lynn Dies

Thanks for looking and make sure to join in the current challenge for a chance to win a $20 gift certificate to Cheery Lynn Designs.

Thursday, October 6, 2016

Cheery Lynn Happy Cat-o-ween


Hi, today I'm sharing a Halloween card featuring one of the new Cheery Lynn Halloween dies from the new Fall and Winter release.  This cat is perfect for Halloween but would be really cute on an all occasion or birthday card too.  It has a little spider dangling from it's tail but it's so simple to snip that off.  


I used a die that normally makes  flower centers to create the black flowers.  They are from the Embellishment #1 die and I love how light and airy they are.  The yellow-green flowers are small Tea Roses that have been embellished with green glitter glue and the black centers are from the Embellishment #2 die set.  The white flowers are Dandelions, I added them in for a pop of color and I like the texture.  I used them instead of adding leaves.


I cut the doily once out of black card stock and then the center of the doily out of whit paper.  I cut it out with a Classic Circle die from the L4 set.

Cheery Lynn Designs Dies

Thanks for joining me on the blog today and make sure to join in the current Anything Goes challenge for a chance to win a $20 gift card to Cheery Lynn Designs.

Friday, September 16, 2016

Cheery Lynn Boo!


 Hi friends!  Today I'm sharing another Halloween card.  I just can't get enough of these new Halloween dies.  I began this card by cutting the centers out of black and patterned papers as well as the main 5.5" card front.  I glued a piece of orange paper to the inside front of the card.  I was originally planning on suspending the spiders between the layers for a 3D effect with an open front but my planned changed when I decided to use a greater variety of these fun spiders.


The spiderweb is from the Spider Net set, the three spiders are from the Whimsical Spiders set, and the Boo is from the Ultimate Halloween set.  I double layered Boo! to add a little more orange and it offsets the other spiderweb on the left nicely.

Cheery Lynn Dies

Thanks for stopping by today and make sure to join in the current challenge for a chance to win a $20 gift card to Cheery Lynn Designs.  

Tuesday, September 6, 2016

Cheery Lynn Spooky Ghosts


Hello!  Today I'm back with a Halloween card inspired by some ornaments I saw in a craft store.  I thought Cheery Lynn's doilies made a perfect background.  I'll probably make more to hang on my mantel or from my chandelier but this one I thought I'd add to a card. 

I created the background by taking an A2 sized top fold card base and adding black card stock and then a layer of green polka dot card stock on top.  The Cheery Lynn Dot background that I used in my New Year's card HERE would achieve a similar look.  I ran a strip of purple dotted paper a third of the way down for a little added interest before gluing the doily.  

The edges of the black Royal Scandinavian Oval Doily sparkle with black glitter glue as do the edges of the ghosts' wings from the Ultimate Halloween Set.  The oval popped up with foam adhesive was cut using the smallest oval from the Classic Oval Stackers set.  I cut the heads of the ghosts twice so I could put in black faces.

Cheery Lynn Dies


Thanks for stopping by today and make sure to join in the latest Lace Challenge for a chance to win a 20 gift certificate to Cheery Lynn Designs!

Hugs, Jenny
Sunday, August 28, 2016

Halloween Owl


Good morning!  Today I'm posting the first owl card I made.  It's similar to the previous post but I switched up a couple of the dies I used and the colors are very different.  The stamp is from IndigoBlu.  I stamped it in black on white card stock and then colored the background with a blending tool and distress ink.  I mounted the imae on black cardstock and distressed the edges of the frame.  


The dies used are all from Cheery Lynn Designs.  I used the Spider Net in the corner, the Witch Hat, the Key from the Lock and Keys set and the Pierced Banner,  

Cheery Lynn Dies

Thanks for stopping by my blog today!


Wednesday, August 17, 2016

Cheery Lynn Hedwig Halloween


 Good morning!  My daughter requested I make a Harry Potter card for her friend's birthday.  I enjoyed making it so much that I made a second using different colors.  Here it is...


I stamped the owl in black and then used distress inks to color the background.  I stamped the owl twice and cut one out which I then used as a mask when I colored the background.  I didn't use tape to mask, I just held the cut out owl in place over the "good owl" as I sponged color onto the background.  The card base is an A2 size.  I layered black card stock, then a design paper and then framed the stamped image in black too.   


I added two Spider Nets, a little dangling spider from the new Whimsical Spider set, the key (using wings from the Dragonfly #13) and the Witch Hat.  I embellished the die cuts with glitter glue, rhinestones, white frantage embossing powder on the side of the card and dragonfly wings, and silver frantage on the key.

Cheery Lynn Designs Dies

Thanks for looking and make sure to check out our challenge for a chance to win a $20 gift certificate to Cheery Lynn Designs!

Sunday, August 7, 2016

Cheery Lynn Walking Zombie


 Hi crafty friends!  I'm back today with a Halloween card using some of the latest Cheery Lynn dies from the Fall and Winter Release.  I love this Walking Zombie, he's got great detail and he can be dressed up in so many ways.  He's also really different.  I tend to collect Halloween dies and I have nothing like him.  He's an individual!  


 I began this card with a 5.5 inch white card base.  I then adhered an orange square cut with the Castle Edged Squares die. On top is a piece of patterned card stock cut with the Square Pierce & Cut Tool. It has a great little pierced detail edge. I cut the Zombie once to create the body and then again to make his clothes.  The shirt was cut out of green paper and his pants out of blue and they were aged using distress ink.  I added a little bit of red card stock behind his clothing and blue behind his eyes to accentuate his scars and eyes. 


The grass was made using both the Grass Border and the Grass Border 2 dies.  The little toxic beaker was backed from behind with black paper.  The Happy Halloween sentiment is from the new Witch's Skirt set.  

Cheery Lynn Dies

Thanks for visiting today and I hope you'll join in the current Back to Nature challenge for a chance to win a $20 gift card to the Cheery Lynn Designs shop!

Thursday, October 8, 2015

Cheery Lynn Happy Halloween


I'm posting today with a Halloween card inspired by this week's Cheery Lynn Designs challenge.  I've been having so much fun with all the new Cheery Lynn Halloween dies from the July release!  To make this card I began by cutting three large squares out of white and purple card stock.  I colored the smallest piece orange with distress ink.  After the distress ink dried I cut a circle out of the card stock with one of the small circles from the  Circle Classic Silver Stackers.  I then used the Square Stitching Tool to cut the stitches into the largest and smallest square for added texture.


I then got to work on the fun elements.  I cut the Home Sweet Home haunted house out of a dark gray card stock and backed it with purple for a spooky light inside.  I think this would be really neat to do with neon green behind too.  Then I glued the house down and then glued two Ornamental Gates side by side.  I cut the bottoms of them so they wouldn't be as tall.  

I sponged a little gray ink over a piece of white card stock and then glued it behind the orange layer.  The two bats from the Bat Family die were popped up with dimensional foam adhesive.  Last I added the cauldron from the Crafty Ann Halloween Set 2 and glued the Happy Halloween sentiment from the Happy Halloween Twiggy Wreath die set.

Cheery Lynn Dies
Bat Family B596

Thanks for visiting and I hope you can join us for this week's Halloween challenge for a chance to win a $20 gift certificate to Cheery Lynn Designs.

Thursday, October 1, 2015

Dies R Us Boo!


Good Morning!  I'm back today with another Halloween card.  Make sure to check out all my Dies R Us teammates' cards - they are spectacular!  I just love spooky things but I'm such a wimp when it comes to scary movies.

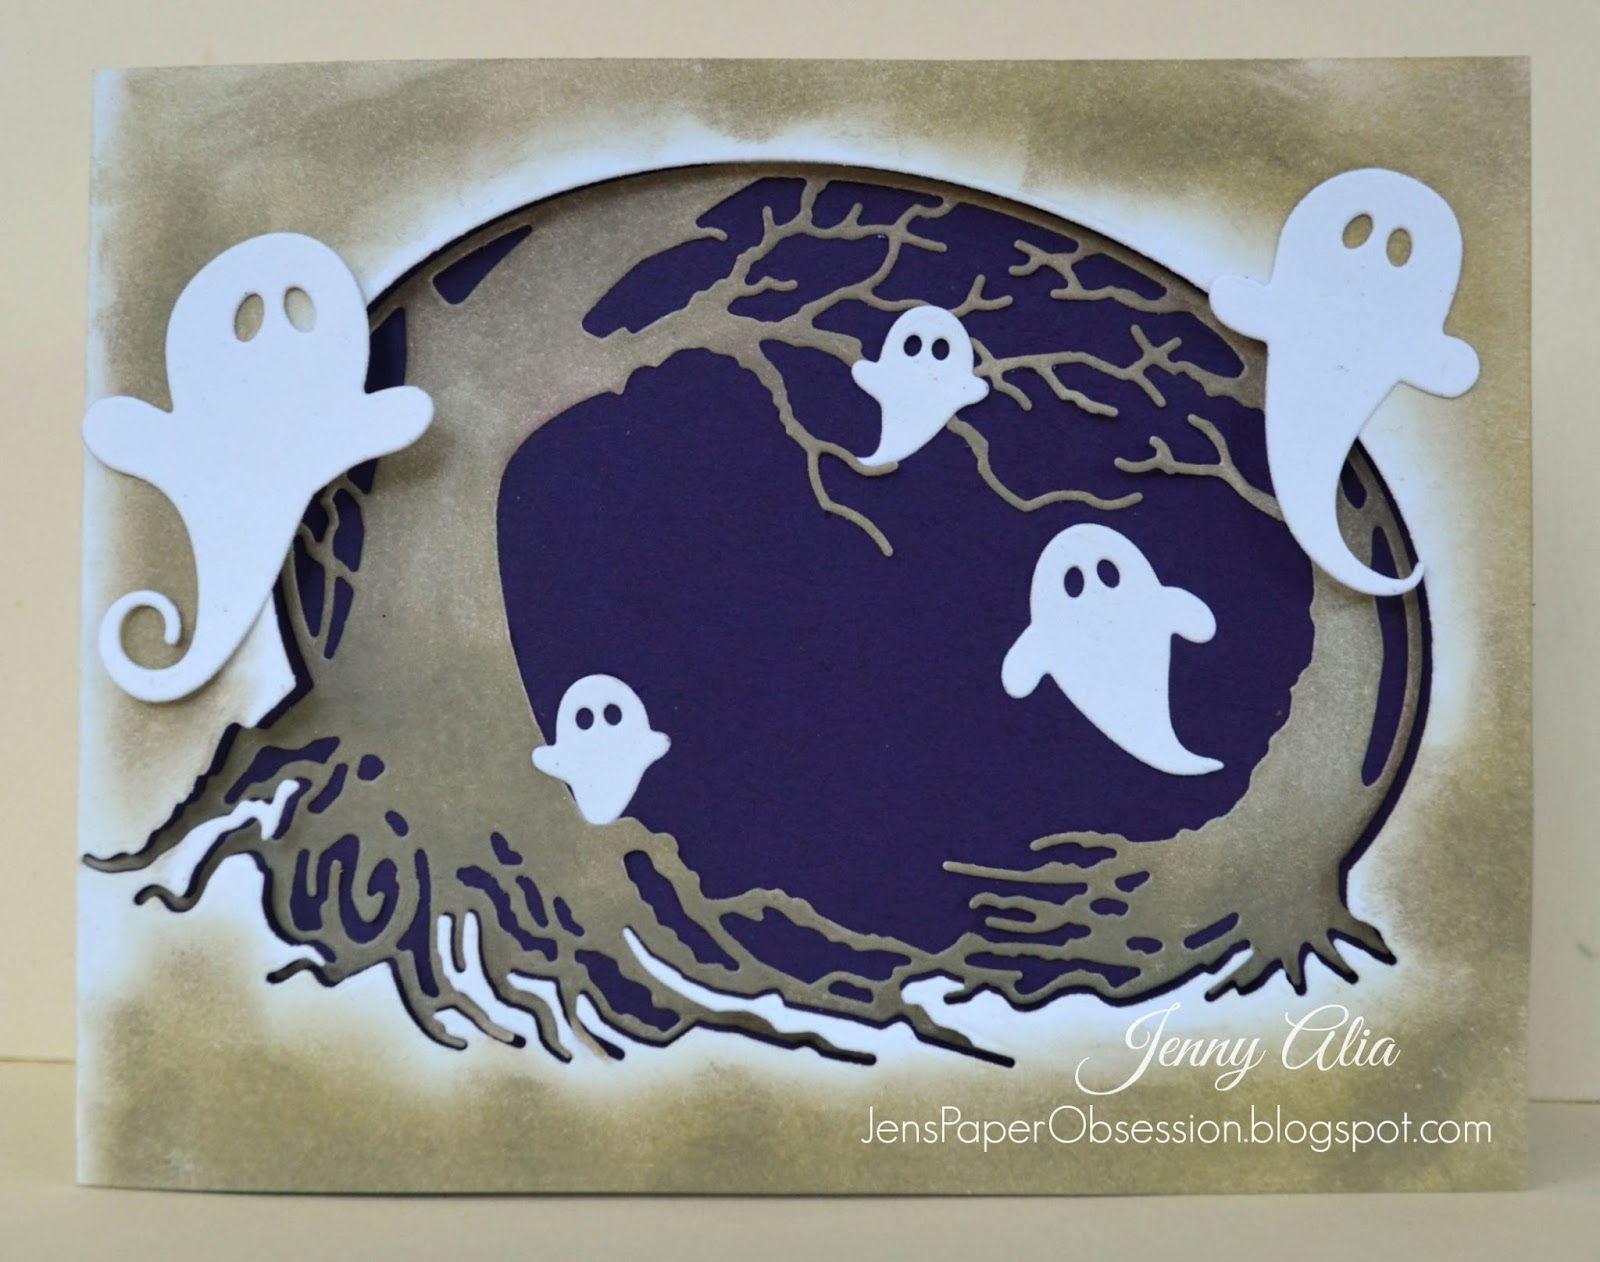
This was such a quick card and fun to make.  I cut the frame using the Memory box Sleepy Hollow Oval Frame.  This die isn't currently in stock but  if you used an oval die and some of the new Memory Box tree dies you could create a similar look.  Then I colored it with distress ink and glued it to a piece of purple background paper.  I then used foam adhesive to adhere it to the back of the card front, positioning it so oval frame fit perfectly in the negative space of the cut-out.  The foam tape really gives the card dimension.  I then glued ghosts around from Memory Box's Swirling Ghosts die. 

Thanks for visiting!  I hope you enjoyed my project and make sure to join in the new Dies R Us Boo to You challenge beginning today!

Dies R Us Dies
Memory Box Sleepy Hollow Oval Frame

Thursday, September 3, 2015

Cheery Lynn Halloween Thank You


Hello!  I'm posting today with a Cheery Lynn Halloween inspired Thank You card.  I've been on a Halloween kick lately since I'm helping plan a large Halloween party at my children's school.  
I began by cutting the largest square of the Horizon Square Boutique Stacker.  I glued it to a white 5.5" card that I'd cut down slightly so the scalloped edge of the die cut would show without a backer. I layered a piece of black design paper on top using foam adhesive.  I then used more foam adhesive to secure the orange Felicity Doily to the front of the card.    

The flowers were created using the  Black Eyed Susan Strip die.  I shaped them a little with a stylus and molding mat and curled the orange center with a quilling tool. The leaves are from the Crafty Ann Flourish #13 die.  The leaves were colored lightly with an orange distress ink.  I added some black Dandelions around the flowers too.  I love using these for a little added texture in paper floral arrangements.


I tucked in white Add a flourish flourishes underneath the Felicity Doily and then glued the Thank You # 2 to the center.  I waited until the end to glue the sentiment so it wasn't obscured by the flowers.  Last I added a few black rhinestones randomly to the edges of the card for a little sparkle.

Cheery Lynn Dies

Thanks for visiting and make sure to link up a card to this week's Frame It challenge for a chance to win $20 to the Cheery Lynn Designs online store!

Wednesday, August 19, 2015

Scrapyland Halloween Tag

Hello! I'm sharing a Halloween Tag today for the new Scrapyland Pockets/Tag Challenge.  I used a few of Cheery Lynn's new dies for this as well as a Memory box stencil with a pearlized embossing paste.


I started by coloring the tag with distress ink and then using the embossing paste and stencil over top.  Some of my stars came out cleaner than others but I hid some of the mistakes with a Cheery Lynn Circle die.  I then added some new Cheery Lynn bats on top (I just love the detail on these bats!).  The Pierced Stars are also Cheery Lynn dies and the centers were cut out using a magnetic platform to hold the dies in place while the centers were cut out to get just the star edges.

Thanks for visiting and I hope you can join in the challenge for a chance to win a gift certificate to the Scrapyland store!

Thursday, August 6, 2015

Cheery Lynn Trick or Treat


Good Morning crafty friends!  I still seem to be making mostly fall cards and I can't seem to get enough of these new Cheery Lynn Halloween dies.  They are so incredibly detailed and very unique.  

I started with a 5.5" black card base.  The design paper is 1/8 inch smaller on all sides.   I stacked three circles to back the Trick or Treat die focal point.  The largestest cirlce is a Horizon Circle Boutique Stacker Frames die and the others are from the new Circle Stitch and Cut Tool dies. I had originally planned the Witch Hat to take center stage but the sentiment seemed to work better.  Trick or Treat was cut twice and I offset the black die cut to make a shadow behind the yellow one.  I paper pieced the buckle into the witches hat which is the same light purple design paper from the smallest circle.  The yellow is actually glued in behind the hat and was colored with a shiny gold paint for some extra pizazz. 


I cut two spiderwebs from the Spider Net die out of purple card stock and adhered them to the right side of the card.  The little matching spider was cut with black and I added a piece of yellow behind for his eyes.  He was popped up with foam tape.


The flowers were made using my most used flower dies - the Gardenia Strip and Small Gardenia dies.  These flowers always come out perfectly with little work on my part.  I used a stylus tool to mold the edges of the flower petals before I stacked and glued them together.  I glued purple rhinestones to the centers.  

The purple leaves tucked in between the gardenias are from Crafty Ann which Cheery Lynn now carries and  and are called Flourish #13.  


Thanks for visiting and make sure to join in the Summer Fun challenge this week for a chance to win a $20 gift certificate to Cheery Lynn Designs!

Wednesday, August 5, 2015

Scrapy Land Happy Halloween Tag


Hi, I'm back with a tag I made for the new Anything Goes Challenge beginning today at Scrapyland.  I hope you'll come and play along!

The tag was made by sponging distress ink on the background after masking with a Cheery Lynn Classic Silver Large Stacker circle die.  I then sponged a little yellow distress ink into the "moon".  I added a Cheery Lynn Happy Halloween Twiggy Wreath around the moon and then glued the new Memory Box Forest Crows over the top.  The branch was also colored with distress ink.  I added the Memory Box Skeleton Hand on the bottom, I just love this spooky skeleton hand!


Last, I added the Happy Halloween sentiment which is also a part of the Cheery Lynn Happy Halloween Twiggy Wreath die.

Scrapyland Dies

I hope you like the result.  Looking at it now, I think adding some purple would have been nice, maybe I'll have to add that on my next one.  Thanks for visiting!

Wednesday, July 15, 2015

Cheery Lynn Pumpkin Patch


Hi Everyone!  I am beyond excited to show you some brand new Cheery Lynn Designs dies today!  This is a step card I created using some of the brand spankin' new July release dies.


I cut the step card with the Step Card Set 3 die from the April release.  Using this die makes every card a little more fun.  I colored the card with black and gray distress ink and covered up the moon with a small circle die from the Circle Classic Stackers L4 Set.  On the right side of the card I added the Grass Border 2 to each of the layers. I glued the smallest Jack-o-lantern to the front fold, a larger Jack-o-lantern and Tombstone to the center, and the Spider Net die to the last layer also adhering it to the left side of the card.


I added the Victorian Picket Fence die to the front of the card.  I did modify the fence by cutting pieces out of it to make it look old.  I also cut the bottom so it would't obscure some of the other elements.


On top of the fence I popped up the Horrible Cat using foam adhesive.  A yellow card stock was added behind his face to get the yellow eyes.  Additionally I painted the eyes with gold shimmery paint.  The spider from the Spider Net die was made the same way with yellow card stock behind.


If you haven't gotten a chance to see them all yet, check out my teammates beautiful creations using more of the new release dies today at Cheery Lynn!


Cheery Lynn Dies

Wednesday, October 8, 2014

Crafting by Designs Spook-tacular

Good Morning!  I made this card for the new Boo you scared me challenge going on at Crafting by Designs this week.  Kraftin' Kimmie Stamps are some of my favorite.  I love spooky images and this Dragon Queen has just a little bit of sass.  :)  


Pop on over to Crafting by Designs to join in the fun this week!


Supplies
Kraftin Kimmie Dragon Queen Stamp
Impression Obsession CAC Damask
Crystal effects
Distress Ink 
Stickles
Copics
Rhinestones

Challenges Entered
Kraftin' Kimmie Stamps Anything Goes
CMD challenge Halloween
Crafts Galore Challenges Trick or Treat
Copic Marker Spain October Challenge
Punk You Girl Halloween
Sisters of Craft Anything Goes

Wednesday, October 1, 2014

Dies R Us Halloween Tag


Hi!  This is my tag for the newest Dies R Us Challenge Gift Tags Challenge.  I hope you can join us this time around for the chance to win a voucher to the Dies R Us Store!  

I decided to create a Halloween tag because I couldn't wait to play with my new Impression Obsession dies.  It's so easy to great a great looking card or scrapbook page with this Halloween Hill die.  The elements can be cut off and used independently or left alone as I did here.  This is actually only part of the scene as I cut the sides to fit on my tag.  

Except for the scene and "Boo" which were cut out of black card stock, the rest of the images were cut with white card stock and colored by blending distress inks.  The background was sponged with distress ink and blended by spritzing water over the orange, yellow and brown colors.

Thanks for stopping by and don't forget to check out our latest challenge.  My teammates did an amazing job with their tags.  I'm so inspired to make more!